As your baby’s first birthday approaches, you are probably finding yourself looking at a little one who is more like a toddler than a baby every day! Sitting up, crawling at lightning speed, maybe even walking already—your kiddo is on the move, and always looking for new and exciting activities to partake in!
One great activity for little ones to enjoy is finger painting, which doesn’t always have to be limited to just the fingers, of course! Here are 10 tips (one for every digit) for when it comes to whipping the paints out and sparking your baby’s creativity!
- Go Non-Toxic (Duh!): Just because your baby is getting older, doesn’t mean he or she knows better than to try to eat colorful paints just yet. Obviously, you’ll be monitoring painting endeavors—but ensuring whatever brand you buy is nontoxic is also highly advisable.
- Prepare the Area: There is always a strong chance with baby’s and toddlers that paint could end up just about everywhere—so protect your surfaces by laying down newspapers and other protective coverings before painting begins. Layering a tabletop in aluminum foil can also make for easy cleanup!
- Strip Down: Letting your baby paint in nothing but a diaper (and putting on your junkiest pair of sweats) is probably a good idea, even with washable paints (which, for the record, might be just as important as buying non-toxic).
- Talk About Colors: While your little one probably won’t pick up color names just yet, it is never too early to start practicing! So talk about the colors your baby is using, and keep repeating the names as you go.
- Textures Too!: If this is your baby’s first time finger painting, you have probably just introduced a whole new and exciting texture—talk about that. As they’re painting, discuss how squishy and slimy the paint feels in their fingers.
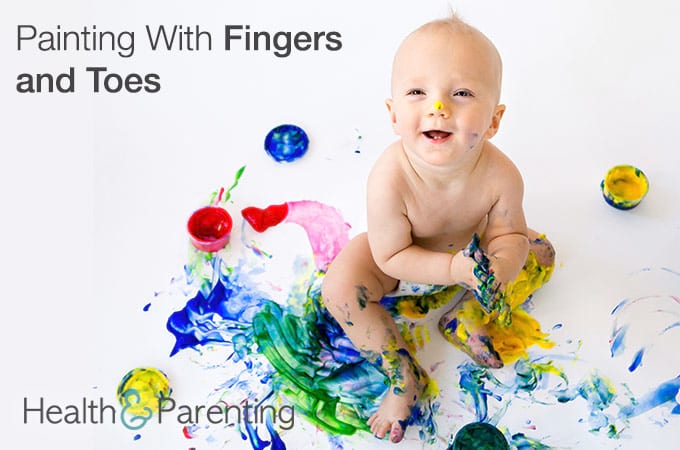
- Experiment: Show your tot how to make handprints on the paper. Use your finger to draw lines through the paint. And then… put a big sheet on the ground and let your baby walk in the paint as well. There is no limit to creativity here, and every new experience has value!
- To the Bath: As soon as painting is done, do yourself a favor and take your baby straight to the bath. You may need to get in there with him or her as well! Cleanup of the actual painting mess can happen after—letting a baby with paint hands run around free while that cleanup happens is just asking for trouble.
- Containment: When you do return to clean up at the paint site, make sure your baby is happily (and safely) contained first. An exersaucer can usually do the trick.
- Display: After letting your baby’s paintings dry, be sure to hang them somewhere your little one can see, admire, and show off. The refrigerator is often a good choice.
- Preserve: After a while, you have a choice to make—do you keep every painting your baby has ever made, or do you find some other way to preserve them? There are plenty of apps today that allow you to take pictures of your child’s artwork and save them in online albums—this can be a great alternative to the ever-growing toddler art collection.
Written by Leah Campbell, infertility advocate, adoptive mama, writer and editor. Find me @sifinalaska on Twitter.
This information is not intended to replace the advice of a trained medical doctor. Health & Parenting Ltd disclaims any liability for the decisions you make based on this information, which is provided to you on a general informational basis only and not as a substitute for personalized medical advice. All contents copyright Health & Parenting Ltd 2016. All rights reserved.


